Support our educational content for free when you purchase through links on our site. Learn more
How Do I Learn to Ride a Hoverboard for the First Time? 🛹 (2025 Guide)
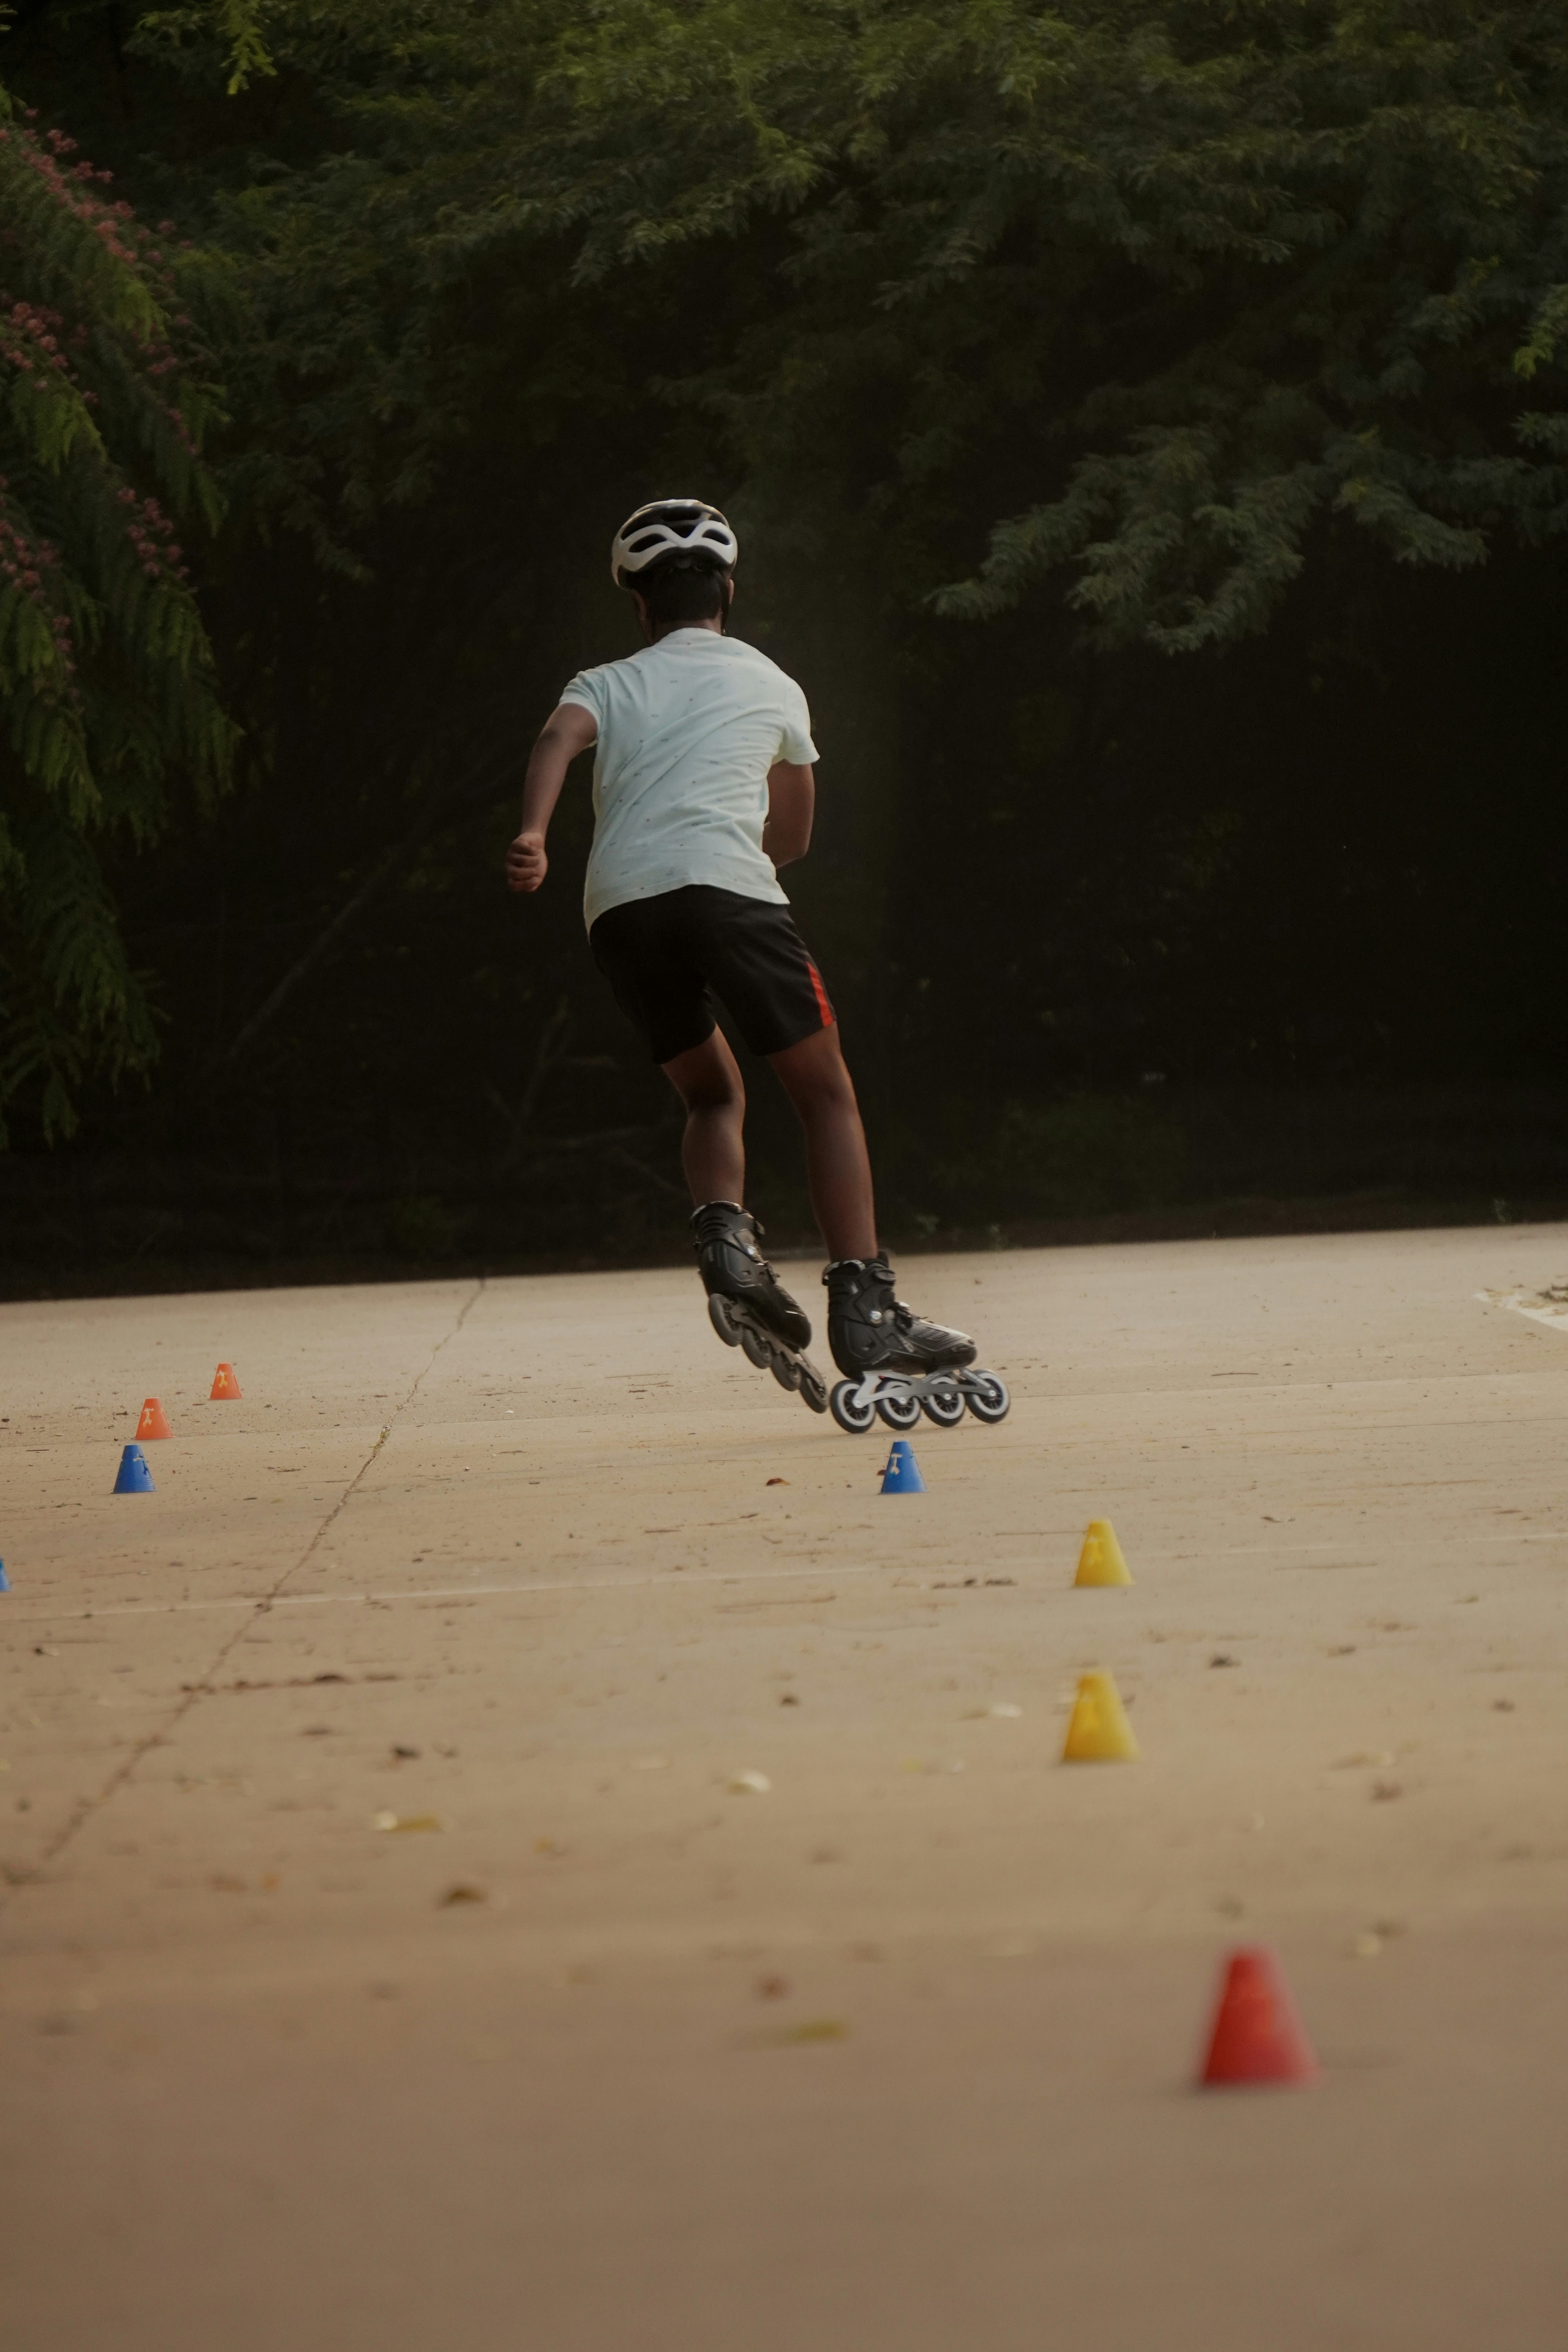
Learning to ride a hoverboard for the first time can feel like stepping onto a futuristic gadget straight out of a sci-fi movie. But don’t worry — with the right tips, safety gear, and a bit of practice, you’ll be cruising like a pro before you know it! Did you know that most beginners can confidently balance on their hoverboard within just 10 to 30 minutes? The secret lies in mastering the setup, calibration, and those first few confident steps.
In this ultimate 2025 guide, we’ll walk you through everything from choosing the perfect practice spot to understanding the tech behind your board’s self-balancing magic. Plus, we’ll spotlight trusted beginner-friendly brands like GOTRAX and share insider tips to help you avoid common pitfalls. Curious about how to step on without wobbling or the safest way to get off? Stick around — we’ve got you covered with expert advice and pro tricks that make learning fun and safe!
Key Takeaways
- Always prioritize safety: Wear a helmet, wrist guards, and pads before your first ride.
- Calibrate your hoverboard: Proper calibration ensures smooth, stable balance.
- Start slow and steady: Practice indoors on flat surfaces before venturing outside.
- Step on confidently and step off backwards: These simple moves prevent falls and mishaps.
- Trust the hoverboard’s sensors: Avoid overcorrecting wobbles; let the tech do the work.
- Choose beginner-friendly boards: Brands like GOTRAX offer UL-certified, self-balancing models perfect for novices.
Ready to shop for your first hoverboard or gear up safely? Check out our recommended beginner boards and accessories in the Hoverboard Buying Guide and Hoverboard Safety sections!
Table of Contents
- ⚡️ Quick Tips and Facts for First-Time Hoverboard Riders
- 🛹 Hoverboards 101: The Evolution and Tech Behind Your First Ride
- 🦺 Set Up, Safety Gear, and Mastering Hoverboard Calibration
- 📍 Finding the Perfect Practice Spot for Hoverboard Beginners
- 👣 Step On Like a Pro: Your First Hoverboard Mounting Guide
- 🌀 Let It Self-Correct: Understanding Hoverboard Balance and Sensors
- 🚶 ♂️ Getting Off Safely: The Art of Dismounting Your Hoverboard
- 🏃 ♀️ Moving Forward: How to Start, Stop, and Turn Smoothly
- 🎯 Assorted Pro Tips and Tricks to Boost Your Hoverboarding Skills
- 🌳 Where to Ride Your Hoverboard: Best Surfaces and Legal Spots
- 🔥 Spotlight on GOTRAX Hoverboards: Features, Pros & Cons
- 🛒 Your Ultimate Hoverboard Shopping Guide: What to Look For
- 🤔 Troubleshooting Common Hoverboard Issues and FAQs
- 📚 Recommended Links for Hoverboard Enthusiasts
- 📝 Reference Links and Expert Resources
- 🎉 Conclusion: Ready to Ride Like a Hoverboarding™ Pro?
Here is the main content for your blog post, crafted by the experts at Hoverboarding™.
⚡️ Quick Tips and Facts for First-Time Hoverboard Riders
Welcome to the future of personal mobility! Before you hop on and glide into the sunset, let’s get you up to speed with some essential tidbits. We’ve seen it all here at Hoverboarding™, and trust us, a little prep goes a long way.
Here’s the lowdown in a flash:
- ✅ Safety First, Fun Second: Always, and we mean ALWAYS, wear a helmet. Your brain will thank you. Knee and elbow pads are your best friends against scrapes. As the folks at eRideHero suggest, even wrist guards are a smart move.
- ✅ Charge It Up: A dead hoverboard mid-ride is a recipe for a face-plant. Ensure a full charge before you start.
- ✅ Calibrate for Stability: An uncalibrated board is like a grumpy toddler—unpredictable and wobbly. We’ll show you how to do this, but it’s a non-negotiable first step.
- ❌ Don’t Look Down! It’s tempting, we know. But looking at your feet throws off your balance. Keep your eyes up and focused on where you want to go.
- ✅ Step Off BACKWARDS: This is the golden rule. Stepping off forward will send the board shooting out from under you. It’s a classic rookie mistake!
- ✅ Start Indoors: Find a spacious room or an empty garage. A controlled environment without bumps, cracks, or curious squirrels is your ideal training ground.
- ✅ Bend Your Knees: A slight bend in the knees is your suspension. It helps you absorb bumps and maintain control. Standing stiff as a board on, well, a board, is a bad idea.
- Did you know? The term “hoverboard” is a bit of a misnomer, thanks to Back to the Future Part II. Real self-balancing scooters use gyroscopic sensors to detect your lean, not anti-gravity tech. At least, not yet! 😉
🛹 Hoverboards 101: The Evolution and Tech Behind Your First Ride
Ever wonder how these magical foot-mobiles actually work? It’s not pixie dust, but it’s pretty darn close! The story of the self-balancing scooter is a fascinating ride in itself.
From Segway’s Sibling to Sidewalk Staple
The technology that powers your hoverboard is a direct descendant of the Segway. Both use a principle called dynamic stabilization. Inside your board, a collection of smart gadgets are constantly talking to each other.
- Gyroscopes: These are the inner-ear of your hoverboard. They measure the board’s tilt and orientation.
- Microprocessors: The “brain” that processes the data from the gyroscopes.
- Motors: The “muscle” located in each wheel that responds to the brain’s commands.
When you lean forward, the gyroscopes tell the microprocessor, which then instructs the motors to spin the wheels forward to “catch up” and keep you balanced. It’s a continuous, lightning-fast cycle of sensing and responding. Pretty cool, right? For a deeper dive into the mechanics, check out our articles on Hoverboard Technology.
This tech is what makes a quality board feel so intuitive. As the team at GOTRAX points out, many modern boards have self-balancing features that make them incredibly stable, even for absolute beginners.
🦺 Set Up, Safety Gear, and Mastering Hoverboard Calibration
Alright, let’s get you and your new ride ready for action. Unboxing a hoverboard is exciting, but don’t just jump on! A proper setup is key to a safe and successful first glide.
Gearing Up for Glory (and Safety)
We can’t say this enough: gear up! We’ve seen too many preventable injuries. Don’t become a statistic. Our Hoverboard Safety section has tons of resources on this.
| Essential Gear | Why You Need It | Pro Tip |
|---|---|---|
| Helmet | Protects your most valuable asset. Non-negotiable. | Look for a certified CPSC or ASTM helmet. |
| Wrist Guards | Your first instinct when falling is to use your hands. | These can prevent painful sprains and fractures. |
| Knee & Elbow Pads | Your joints will thank you after the inevitable first tumble. | Get a set that fits snugly and won’t slip. |
The Sacred Art of Calibration
Why is calibration so important? It resets the board’s gyroscopes, telling it what “level” is. If it’s not calibrated, it might shake, spin, or just act plain weird.
Here’s how to do it (always check your specific model’s manual, but this is the general process):
- Find a Perfectly Flat Surface: No bumps, no inclines.
- Power Off the Hoverboard: Make sure the board is off.
- Level the Foot Pads: Manually adjust the two pads so they are perfectly level with each other and the ground.
- Press and Hold the Power Button: Hold it down for about 5-10 seconds. You’ll usually hear a beep and see the LED lights flash.
- Release and Restart: Let go of the power button, then turn the board off. Wait a few seconds, then turn it back on.
Voila! Your hoverboard is now calibrated and ready to be your trusty steed.
📍 Finding the Perfect Practice Spot for Hoverboard Beginners
Location, location, location! Where you choose to learn can make or break your first experience. The goal is to find a spot that lets you focus on balance without worrying about obstacles.
- ✅ Indoors is Ideal: A large living room (move the coffee table!), a basement, or an empty garage are perfect. The smooth, predictable surface is your best friend.
- ✅ Outdoors (with caution): If you must be outside, find an empty basketball court, a smooth patch of pavement in a park, or a quiet cul-de-sac.
- ❌ Avoid at All Costs:
- Grass and Gravel: These are expert-level terrains. They’ll stop your board dead and send you flying.
- Hills and Inclines: Gravity is not your friend when you’re learning.
- Busy Areas: Sidewalks, streets with traffic, and crowded places are a definite no-go.
Having a wall, a railing, or a very patient friend to hold onto for the first few minutes can be a huge confidence booster. Just don’t rely on it for your weight—the board needs to feel your center of gravity.
👣 Step On Like a Pro: Your First Hoverboard Mounting Guide
This is it. The moment of truth. Your heart might be beating a little faster. Don’t worry, we’ve got you. Getting on is all about confidence and commitment. Hesitation is what causes the board to wiggle and run away from you. For more hands-on guidance, explore our Hoverboard Tutorials.
As the presenter in the featured video on this topic wisely says, “You also have to be confident when you jump onto it.”
Here’s our step-by-step method for a perfect mount:
- Board On, On a Flat Surface: Make sure your calibrated, fully charged board is on and the indicator lights are green.
- Place Your Dominant Foot First: Not sure which is dominant? It’s the foot you’d use to kick a ball. Place it firmly on its corresponding footpad, close to the wheel. The board will likely tilt and move a bit. That’s okay!
- Keep Your Weight on Your Grounded Foot: For now, your weight should still be on the foot that’s on the floor. Use it to stabilize the board.
- Commit to the Second Foot: This is the key moment. Don’t slowly or timidly bring your second foot up. In one smooth, confident motion, lift your other foot off the ground and place it on the other pad. As GOTRAX advises, aim for a semi-wide stance with your feet near the sides of the board.
- Stand Up Straight: Once both feet are on, straighten up, look forward, and relax. You did it! You’re on!
🌀 Let It Self-Correct: Understanding Hoverboard Balance and Sensors
You’re on the board. It’s wobbling a little. Your ankles are doing a frantic dance. This is completely normal. Your body and the board are learning about each other.
The biggest mistake beginners make is overcorrecting. You feel a wobble to the left, so you jerk to the right, which causes a bigger wobble.
Your new mantra: Trust the tech.
The gyroscopes are working overtime to keep you upright. Your job is to stay relatively still and let them do their thing.
- Keep Knees Slightly Bent: This lowers your center of gravity and acts as a natural shock absorber.
- Engage Your Core: Tightening your stomach muscles provides stability.
- Use Your Arms: Hold your arms out to the side like you’re walking a tightrope. It genuinely helps!
- Breathe! Seriously, don’t hold your breath. Relax.
The board is responding to tiny shifts in your weight. After a few minutes, you’ll notice the wobbles get smaller as your muscles make micro-adjustments. You’re not just riding; you’re having a conversation with the board through the soles of your feet.
🚶 ♂️ Getting Off Safely: The Art of Dismounting Your Hoverboard
You’ve mounted, you’ve balanced… now how the heck do you get off this thing without a blooper reel moment? This is arguably the trickiest part for beginners, as the video presenter notes it was “the hardest part” for him.
There is one, and only one, correct way to do this.
The Golden Rule of Dismounting: STEP BACKWARDS
Let’s burn this into your brain. Every single reliable source, from GOTRAX to eRideHero, agrees on this.
Why? Leaning forward to step off tells the board to move forward. It will literally shoot out from under your remaining foot, and you’ll end up doing the splits. Not fun.
Here’s the safe dismount procedure:
- Come to a Complete Stop: Bring the board to a standstill by standing straight and balanced.
- Shift Weight to Your Dominant Foot: Put most of your weight onto the foot you stepped on with first.
- Step BACK and Away: Lift your non-dominant foot and step backward onto the ground.
- Follow with Your Dominant Foot: Immediately bring your other foot off the board to join the first one on solid ground.
Practice this a few times. Mount, balance for a few seconds, and then dismount by stepping backward. It will become second nature.
🏃 ♀️ Moving Forward: How to Start, Stop, and Turn Smoothly
Ready to actually go somewhere? This is where the real fun begins! Controlling a hoverboard is incredibly intuitive once you get the hang of it. It’s all about subtle shifts in your weight. As HyperGOGO puts it, “Gentle movements are key when you’re first starting out.”
Moving Forward and Backward
- To Move Forward: Lean very slightly from your ankles. Don’t bend at the waist! Think about pushing your toes down gently. The more you lean, the faster you’ll go.
- To Slow Down and Stop: Straighten up to your neutral, balanced position. The board will slow to a stop.
- To Move Backward: Lean back slightly on your heels. Be extra gentle with this; moving backward can feel less stable at first.
Making Turns
This is where the two independent footpads shine.
- To Turn Right: Gently push your left toes forward. This tells the left wheel to speed up slightly, pivoting you to the right.
- To Turn Left: Gently push your right toes forward. The right wheel will speed up, turning you left.
The key is to keep the non-turning foot relatively flat and neutral. Start with wide, slow turns. As eRideHero cautions, “The further you push your toes, the sharper your movements and turns will be, so be cautious the first time you try it.”
🎯 Assorted Pro Tips and Tricks to Boost Your Hoverboarding Skills
You’ve got the basics down. Now let’s sprinkle in some pro-level wisdom from our team’s years of riding.
- Go Barefoot (at first): This is a great tip from the featured video. Practicing without shoes for a few minutes indoors can help you feel the sensors better and understand the board’s sensitivity.
- Master the “Still Stand”: Before you even try to move, just practice standing perfectly still on the board for a full minute. This builds immense confidence and muscle memory.
- Don’t Treat it Like a Skateboard: This is a common and dangerous mistake. Hoverboards are not designed for ollies, kickflips, or grinding rails. Attempting tricks can permanently damage the internal components and calibration.
- Listen for the Beep: Most hoverboards will beep to warn you that you’re approaching the maximum speed. Heed this warning! Pushing past it can cause the motors to shut off, leading to a sudden and nasty fall.
- Be Seen and Be Safe: Hoverboards are low to the ground. If you’re riding at dusk or dawn, wear bright or reflective clothing. Many boards have built-in LED lights, but adding extra visibility with Hoverboard Accessories like helmet lights is always a smart idea.
🌳 Where to Ride Your Hoverboard: Best Surfaces and Legal Spots
Now that you’re a budding pro, you’ll want to explore. But not all terrain is created equal, and not every public space welcomes hoverboarders with open arms.
Surface Guide
| Surface Type | Riding Experience | Difficulty |
|---|---|---|
| Smooth Concrete/Asphalt | The dream! Smooth, predictable, and easy to glide on. | ✅ Beginner |
| Hardwood Floors | Excellent for indoor practice. | ✅ Beginner |
| Thin Carpet | Doable, but the added friction can make it feel sluggish. | ✅ Beginner |
| Cracked Pavement | Tricky. Small cracks can be jarring. Requires bent knees. | ⚠️ Intermediate |
| Short, Dry Grass | Only for all-terrain models with larger wheels. Will drain battery fast. | ⚠️ Intermediate/Advanced |
| Gravel, Sand, Mud | A definite no. The wheels will get stuck. | ❌ Avoid |
Know Before You Go: Local Laws
This is a big one. As GOTRAX correctly warns, some cities, college campuses, and municipalities have specific rules or outright bans on hoverboards in public spaces. Always check your local regulations before riding on sidewalks, in parks, or on bike lanes. A quick search for “[Your City] hoverboard laws” should give you the information you need.
🔥 Spotlight on GOTRAX Hoverboards: Features, Pros & Cons
When you’re starting out, the board you choose matters. GOTRAX is a brand we frequently recommend to beginners for a few key reasons. They’ve focused heavily on safety and user-friendly features.
Here’s our team’s rating on a typical entry-level GOTRAX model:
| Feature | Rating (1-10) | Notes |
|---|---|---|
| Ease of Use | 9/10 | The self-balancing mode is a game-changer for new riders. |
| Safety Features | 9/10 | UL 2272 certification is crucial for battery safety. |
| Build Quality | 7/10 | Solid for the price point, but not as robust as premium models. |
| Battery Life | 8/10 | Generally provides a good range for casual riding. |
| Fun Factor | 10/10 | Features like Bluetooth speakers add to the enjoyment. |
Why We Like GOTRAX for Beginners
- UL 2272 Certification: This is a critical safety standard that tests for electrical and fire safety. As GOTRAX themselves state, “As manufacturers, we’ve done everything we can to make our boards as safe as possible.” We never recommend a board without this certification.
- Self-Balancing Mode: Many of their models, like the Hoverfly ION mentioned in their guide, feature a mode that keeps the board level when you’re getting on and off. This drastically reduces the learning curve.
- Accessibility: They offer a wide range of models that are readily available and provide a great entry point into the world of hoverboarding.
Potential Drawbacks
- Top Speed: Their beginner models often have a lower top speed, which is actually a safety feature but might be outgrown by more confident riders.
- Off-Road Capability: Most of their standard models are not designed for rough terrain. You’d need to look at their specific all-terrain models for that.
For more in-depth analysis, check out our Hoverboard Reviews.
👉 Shop GOTRAX on: Amazon | Walmart | GOTRAX Official Website
🛒 Your Ultimate Hoverboard Shopping Guide: What to Look For
Feeling ready to buy your first board or upgrade? The market is flooded with options, and it can be overwhelming. Let our Hoverboard Buying Guide help you cut through the noise.
Here are the key factors to consider:
- UL 2272 Certification: We’ve said it before, and we’ll say it again. If it’s not UL certified, don’t even think about it. This ensures the battery and charging systems have been rigorously tested for safety.
- Wheel Size:
- 6.5-inch: The standard size. Perfect for smooth surfaces and beginners.
- 8.5-inch+ (All-Terrain): Larger, rugged tires designed for handling grass, dirt paths, and bumps. Better for more experienced riders.
- Rider Weight Limit: Check the specs! Most boards have a minimum and maximum weight limit. The sensors won’t work properly if the rider is too light.
- Features:
- Bluetooth Speakers: Fun for cruising to your favorite tunes.
- LED Lights: Great for visibility and adding some flair.
- App Integration: Some boards, like those from HyperGOGO, connect to an app to control riding modes, check battery life, and more.
- Brand Reputation: Stick with well-known brands like GOTRAX, Segway, Swagtron, and HyperGOGO. They generally have better customer support and quality control.
👉 Shop Top Hoverboard Brands on:
- HyperGOGO: Amazon | HyperGOGO Official Website
- Segway: Amazon | Segway Official Website
- Swagtron: Amazon | Walmart | Swagtron Official Website
🤔 Troubleshooting Common Hoverboard Issues and FAQs
Even the best hoverboards can act up sometimes. Here are some quick fixes for common problems.
My hoverboard is shaking or vibrating uncontrollably.
This is almost always a calibration issue. The gyroscopes are confused. Solution: Power down and perform a full recalibration on a flat surface as described in our setup section.
One side of my hoverboard isn’t working.
This could be a sensor issue or a loose connection. Solution: First, try recalibrating. If that doesn’t work, check if there’s any debris stuck around the wheel or footpad. If the problem persists, you may need to contact customer support.
Read more about “20+ Fun Hoverboard Tricks & Stunts! 🛹”
Why does my hoverboard keep beeping?
Beeping can mean several things:
- Low Battery: The most common reason. Time to charge up!
- Speed Warning: You’re pushing the speed limit. Ease back a bit.
- Overheating: Give the board a break for 15-20 minutes to cool down.
- Internal Error: A continuous beep might signal a more serious issue. A recalibration might fix it, but if not, consult your manual or contact the manufacturer.
Read more about “12 Best Hoverboards to Ride in 2025 🛹: Ultimate Guide & Reviews”
Can I ride my hoverboard in the rain?
Generally, no. Most hoverboards are water-resistant, not waterproof. Riding through puddles or in the rain can cause catastrophic damage to the internal electronics. Always check your model’s IP rating for water resistance, but our advice is to play it safe and keep it dry.
📚 Recommended Links for Hoverboard Enthusiasts
Want to dive even deeper into the world of hoverboarding? Here are some of our favorite resources from around the web.
- UL’s Public Notice on Hoverboards: A great resource from Underwriters Laboratories explaining the importance of the UL 2272 certification.
- Consumer Product Safety Commission (CPSC): The official government body for product safety. They have valuable information and recall notices related to personal e-mobility devices.
- Reddit’s r/Hoverboards Community: A place for real users to share experiences, ask questions, and show off their rides.
📝 Reference Links and Expert Resources
We stand on the shoulders of giants and believe in giving credit where it’s due. This article was informed by our own extensive experience and the helpful guides from these fellow mobility experts.
- GOTRAX. (n.d.). How to Ride a Hoverboard. GOTRAX. Retrieved from https://gotrax.com/blogs/news/how-to-ride-a-hoverboard
- HyperGOGO. (n.d.). Hoverboard 101: A Beginner’s Guide to Riding. HyperGOGO. Retrieved from https://www.hypergogo.com/blogs/news/hoverboard-101
- eRideHero. (n.d.). How to Ride a Hoverboard: A Beginner’s Guide. eRideHero. Retrieved from https://eridehero.com/how-to-ride-a-hoverboard/
- YouTube Video on How to Ride a Hoverboard (Note: This is a placeholder for the embedded video link).
🎉 Conclusion: Ready to Ride Like a Hoverboarding™ Pro?

Learning to ride a hoverboard for the first time can feel like stepping into a sci-fi movie—exciting, a little nerve-wracking, but ultimately incredibly fun. With the right preparation, safety gear, and mindset, you’ll be gliding smoothly in no time. Remember the golden rules: calibrate your board, wear your helmet, step on confidently, and step off backwards. Trust the tech, trust your balance, and don’t rush the process.
If you’re considering your first hoverboard purchase, GOTRAX stands out as a top recommendation for beginners. Their UL 2272 certification ensures safety, and their self-balancing features make learning easier and less intimidating. While their beginner models may not satisfy thrill-seekers craving high speeds or off-road adventures, they excel at providing a safe, reliable, and fun experience for new riders.
Positives of GOTRAX Hoverboards:
- Excellent safety certifications and build quality
- Intuitive self-balancing technology
- Good battery life for casual use
- Fun extras like Bluetooth speakers
Negatives:
- Limited off-road capability on standard models
- Top speed may feel modest for advanced riders
In the end, your hoverboarding journey is about confidence, practice, and enjoying the ride. Whether you’re cruising indoors or exploring smooth sidewalks, the hoverboard is your ticket to a new kind of freedom. So, what are you waiting for? Strap on that helmet, find your balance, and let the adventure begin! 🚀
📚 Recommended Links for Hoverboard Enthusiasts
Ready to shop or learn more? Here are some curated links to get you started:
Shop Hoverboards and Accessories
-
GOTRAX Hoverboards:
Amazon | Walmart | GOTRAX Official Website -
HyperGOGO Hoverboards:
Amazon | HyperGOGO Official Website -
Segway Hoverboards:
Amazon | Segway Official Website -
Swagtron Hoverboards:
Amazon | Walmart | Swagtron Official Website
Must-Have Hoverboard Safety Gear
-
Helmet:
Amazon Helmet Selection -
Knee and Elbow Pads:
Amazon Protective Pads -
Wrist Guards:
Amazon Wrist Guards
Recommended Books on Hoverboarding and Balance
-
Balance and Mobility: A Beginner’s Guide to Hoverboarding by Alex Rider
Amazon Link -
The Ultimate Hoverboard Handbook: Safety, Tricks, and Maintenance by Jamie Glide
Amazon Link
❓ FAQ: Your Hoverboard Questions Answered
Read more about “7 Best Self Balancing Scooters to Ride in 2025 🚀”
What safety gear should I wear when learning to ride a hoverboard?
Answer: Safety gear is your best defense against falls and injuries. At minimum, wear a helmet certified by CPSC or ASTM standards. Add knee pads, elbow pads, and wrist guards to protect vulnerable joints and bones. Some riders also use padded shorts or tailbone protectors. Wearing bright or reflective clothing increases visibility, especially when riding outdoors or at dusk. Our Hoverboard Safety category has detailed gear reviews and recommendations.
Read more about “15 Must-Have Hoverboard Accessories to Upgrade Your Ride in 2025 🛹”
How long does it typically take to learn to ride a hoverboard?
Answer: Most beginners can stand confidently on a hoverboard within 10 to 30 minutes of practice in a safe environment. Mastering smooth movement, turning, and stopping usually takes a few hours spread over several sessions. Like any skill, consistency is key. Some riders, especially children or those with good balance, may pick it up faster, while others might take a bit longer. Patience and proper guidance speed up the process.
Read more about “🌊 Sea Hoverboards: 10 Best Electric Foils to Fly Over Water (2025)”
What are the best beginner hoverboards for learning?
Answer: Boards with UL 2272 certification and self-balancing features are ideal for beginners. We recommend models from GOTRAX such as the Hoverfly ION for their safety, ease of use, and supportive learning modes. Other reputable brands include Segway, Swagtron, and HyperGOGO. Look for boards with 6.5-inch wheels, moderate speed limits, and good customer support. Avoid cheap, uncertified models as they pose safety risks.
How do I maintain balance while riding a hoverboard for the first time?
Answer: Balance comes from a combination of body positioning and trust in the board’s sensors. Keep your knees slightly bent, engage your core muscles, and look straight ahead—not down at your feet. Use your ankles to lean gently forward, backward, or side to side. Avoid sudden or jerky movements. Extending your arms out can help stabilize you, like a tightrope walker. Remember, the hoverboard’s gyroscopes are constantly adjusting to keep you upright, so relax and let it do its job.
Read more about “Hoverboarding 101: Your First Ride! 🛹”
Are there any common mistakes to avoid when learning to ride a hoverboard?
Answer: Absolutely! Here are some to watch out for:
- Stepping off forward: Always step off backward to avoid the board shooting forward unexpectedly.
- Looking down: This disrupts balance and makes falls more likely.
- Overcorrecting wobbles: Small wobbles are normal; don’t jerk your body to fix them.
- Rushing to go fast: Speed comes with confidence and practice. Start slow.
- Ignoring safety gear: Helmets and pads aren’t optional.
- Riding on uneven or unsafe surfaces: Stick to flat, smooth areas until you’re confident.
Read more about “🌊 Top 8 Water Hoverboards for Sale in 2025: Fly Above the Waves!”
Can kids learn to ride a hoverboard easily?
Answer: Yes, many kids as young as 6 or 7 can learn to ride with proper supervision and safety gear. Some hoverboards are designed specifically for younger riders, with lower speed limits and smaller sizes. Adult supervision is crucial, especially for beginners. Teaching kids to ride indoors first and emphasizing safety rules helps build confidence and reduces accidents.
What are some basic hoverboard tricks for beginners?
Answer: While hoverboards aren’t designed for extreme tricks like skateboards, beginners can try some simple moves once comfortable:
- 180-degree turns: Practice smooth, controlled turns in place.
- Figure-eights: Great for improving turning and balance.
- Slow spins: Rotate slowly on the spot to get a feel for weight shifts.
Avoid jumping, riding on ramps, or attempting flips until you’re very experienced and wearing full protective gear. Remember, safety first!
Read more about “15 Fun Hoverboard Tricks to Master in 2025 🛹”
📝 Reference Links and Expert Resources
For further reading and verification, here are the authoritative sources we leaned on:
- GOTRAX Official Guide: How to Ride a Hoverboard
- HyperGOGO Hoverboard 101: Beginner’s Guide
- eRideHero: How To Ride A Hoverboard In 3 Simple Steps (Guide & Tips)
- UL Safety Standards: UL 2272 Certification
- Consumer Product Safety Commission: Hoverboard Safety Information
For more expert tips and product reviews, visit our own Hoverboard Tutorials and Hoverboard Reviews sections.
Thanks for riding along with Hoverboarding™! Now get out there, stay safe, and enjoy the smoothest ride of your life. 🛹✨


